Why You Should Manage Your 404s
If the first thing a visitor or a search engine’s bot sees when viewing your website is an error page, then you have a severe problem. The visitor will leave, it’s uncommon for someone looking at a site to fight past the error. There are so many websites out there to choose from, why struggle with yours when someone else probably offers the content or service and has a working site?
In addition to discouraging visitors, 404s hurt your site’s SEO. Search engines penalize websites that give 404 errors or pages that look like they’re otherwise “under construction.” Google (appropriately) believes that searchers are looking for reliable websites that have relevant information, not placeholders or sites that aren’t maintained anymore, so any website with lots of errors and broken links sends a signal that it should be lower in the results. Getting rid of as many of those errors as possible will help reduce your ranking penalties, and significantly improve the visitor experience.
You have to fix errors, especially 404s. In this post, we’re going to show you how to do it with three plugins.
What is a 404?
When your website shows someone a WordPress 404 error page its because they have attempted to visit a page or file on your site that doesn’t exist. Sometimes its a problem with your website, such as a link you created that is taking them to the missing page and causing the 404. A lot of the time it isn’t something you’ve done, and instead, its caused by a link from another website or an automated system scanning websites. One thing is constant, no matter how the user got to the 404 page, you need to figure it out and deal with it. Here’s what the default 404 page from an Apache server looks like:
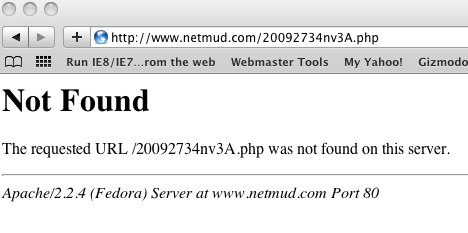
Most software like WordPress includes support for custom 404 pages. The default 404 page is unformatted and gives the user the impression that a terrible problem has occurred. It’s important to remember that many of your visitors are not particularly familiar with the different errors that a website can produce, and may not be able to tell the difference between a minor 404 error caused by a typo and a more severe error like a 503 gateway error or 500 server error.
Making a friendly 404 page that matches the look and feel of the rest of your website immediately communicates the fact that the site itself is still functioning, and casual language can help put your visitors at ease. You can also take the opportunity to suggest working pages that they may have been looking for based on the URL, which reduces your bounce rate due to 404s. You can see an example of that by viewing our 404 page here at Local SEO Company: /non_existant_page. You will notice that the URL for non_existant_page isn’t a link, I don’t want to create another 404 for Google to see. You will have to copy and paste it into your browser.
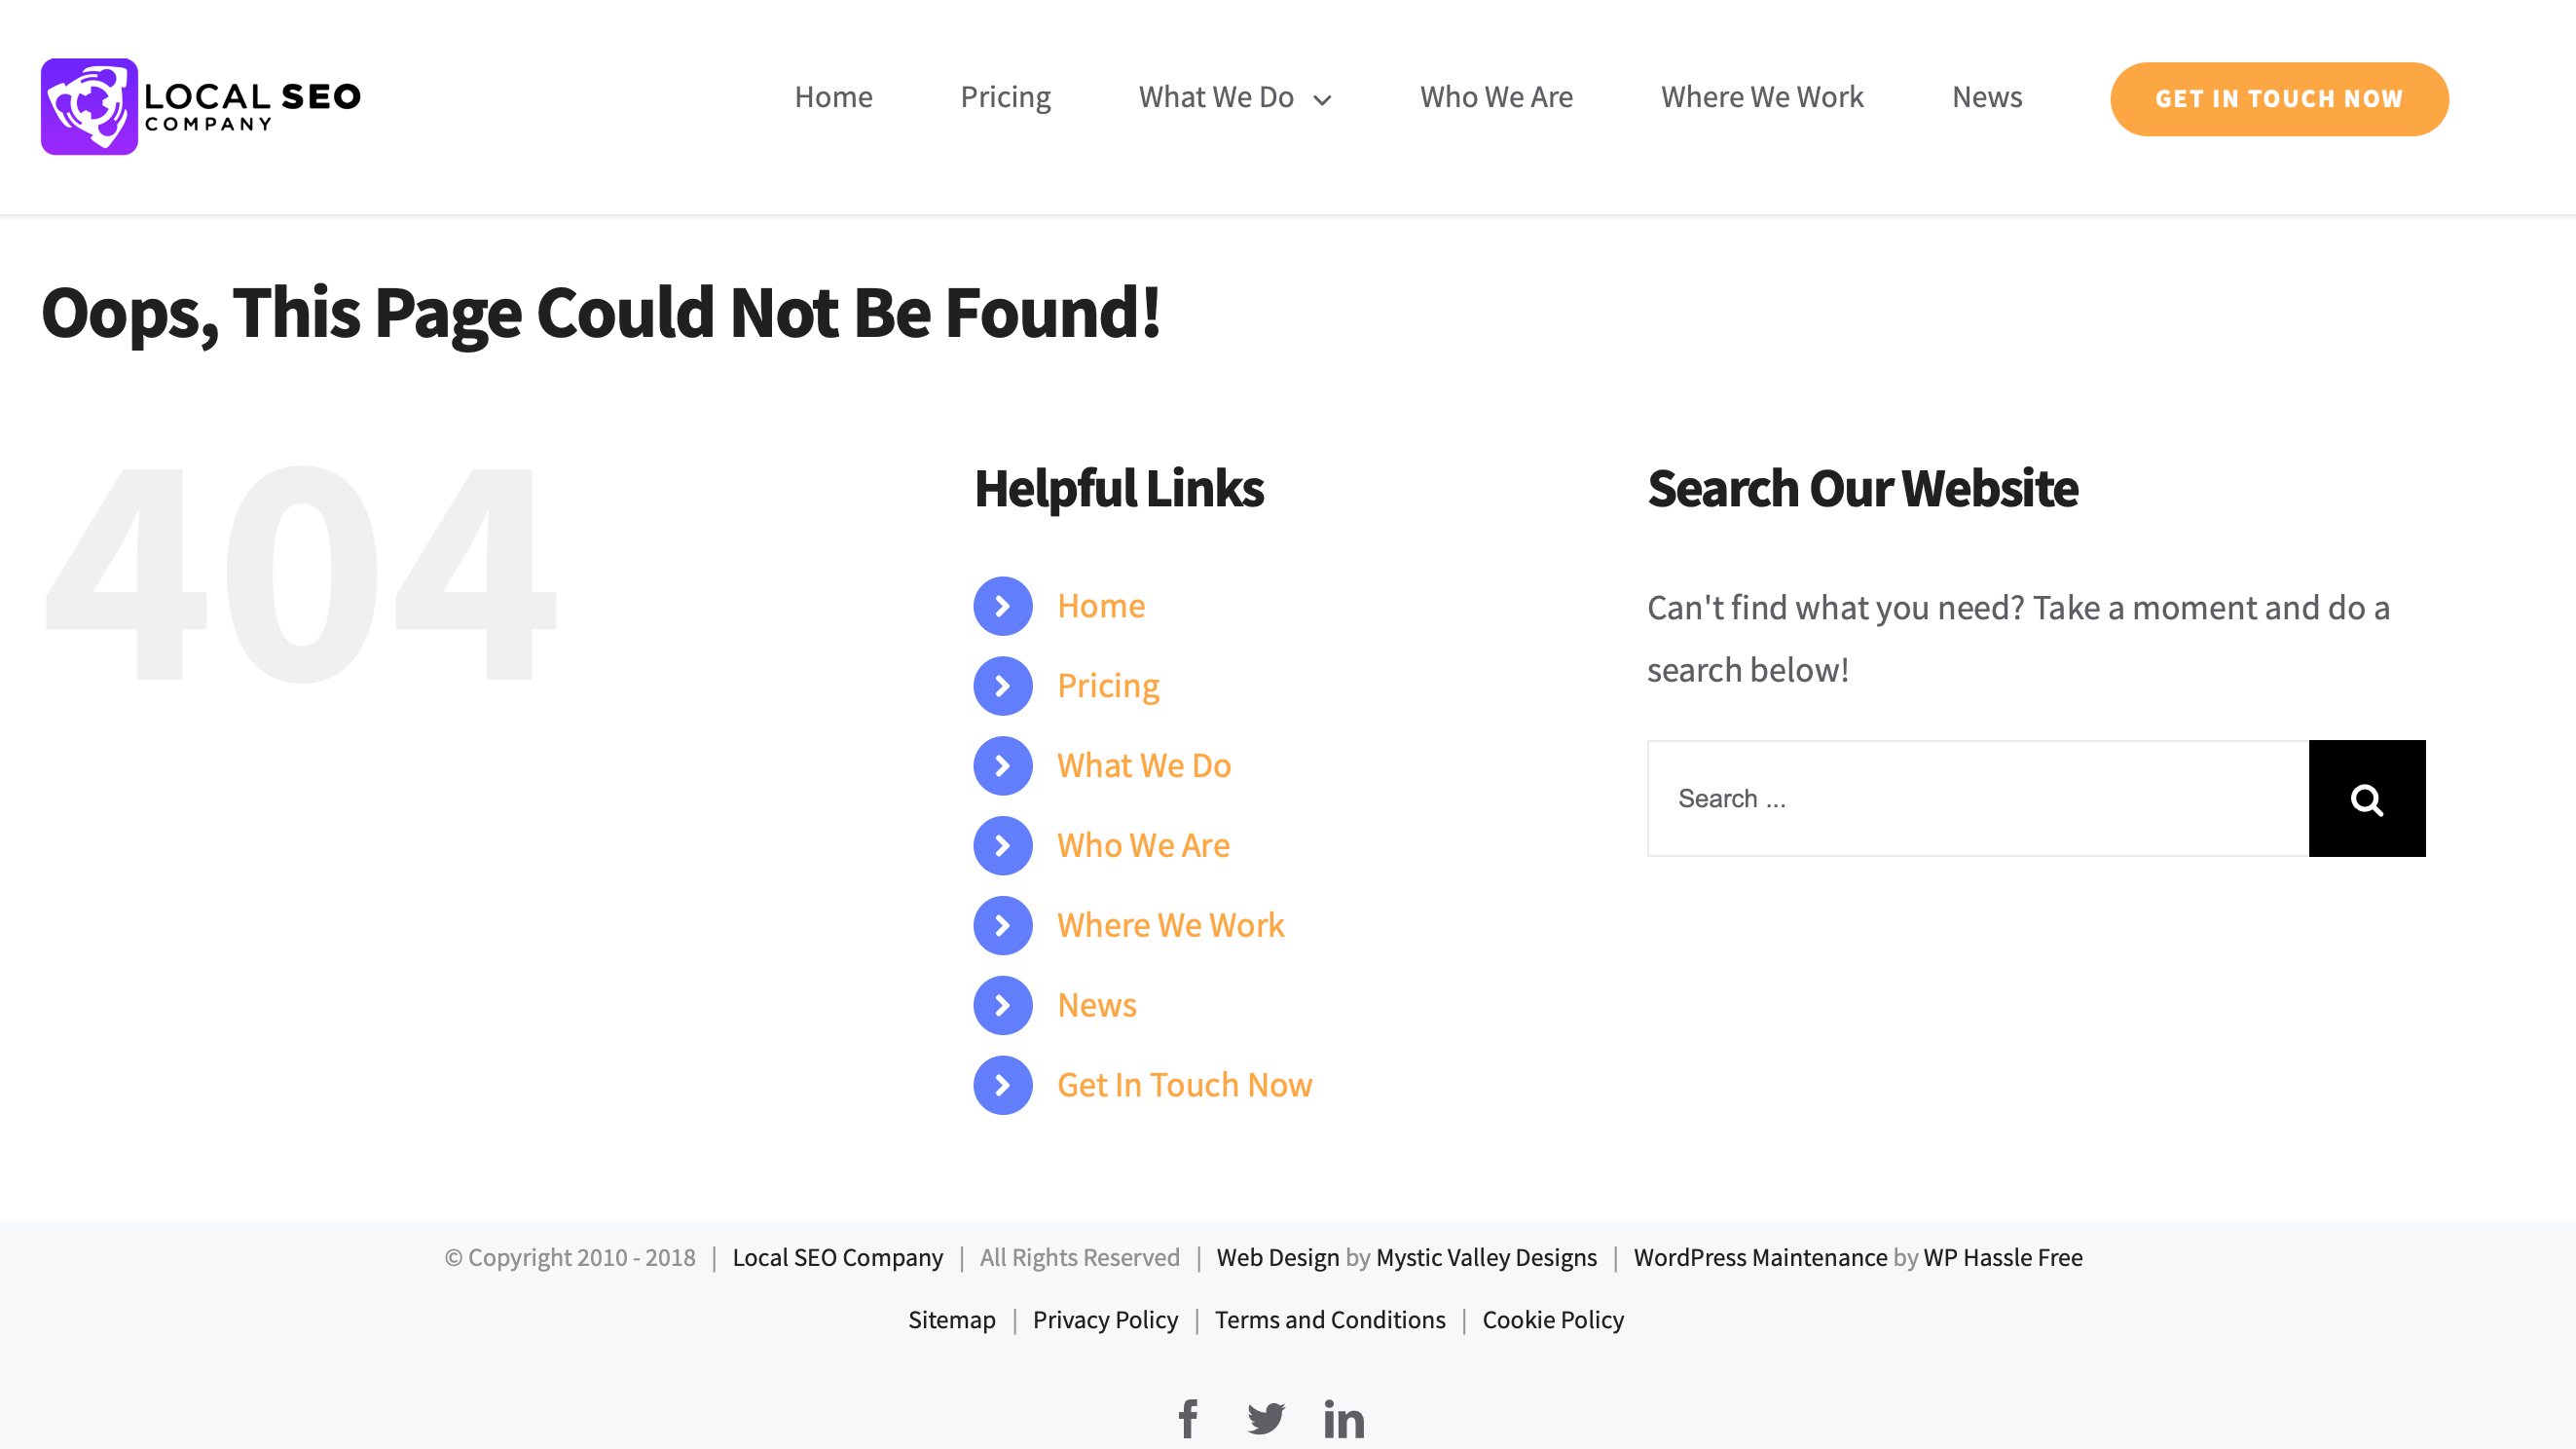
There are three things we need to do here: catch 404 errors and log them, automatically redirect people to the right page if we can guess it, and display a better 404 page than the server default. Below I will show you three plugins that solve these problems.
How To Monitor 404s In WordPress
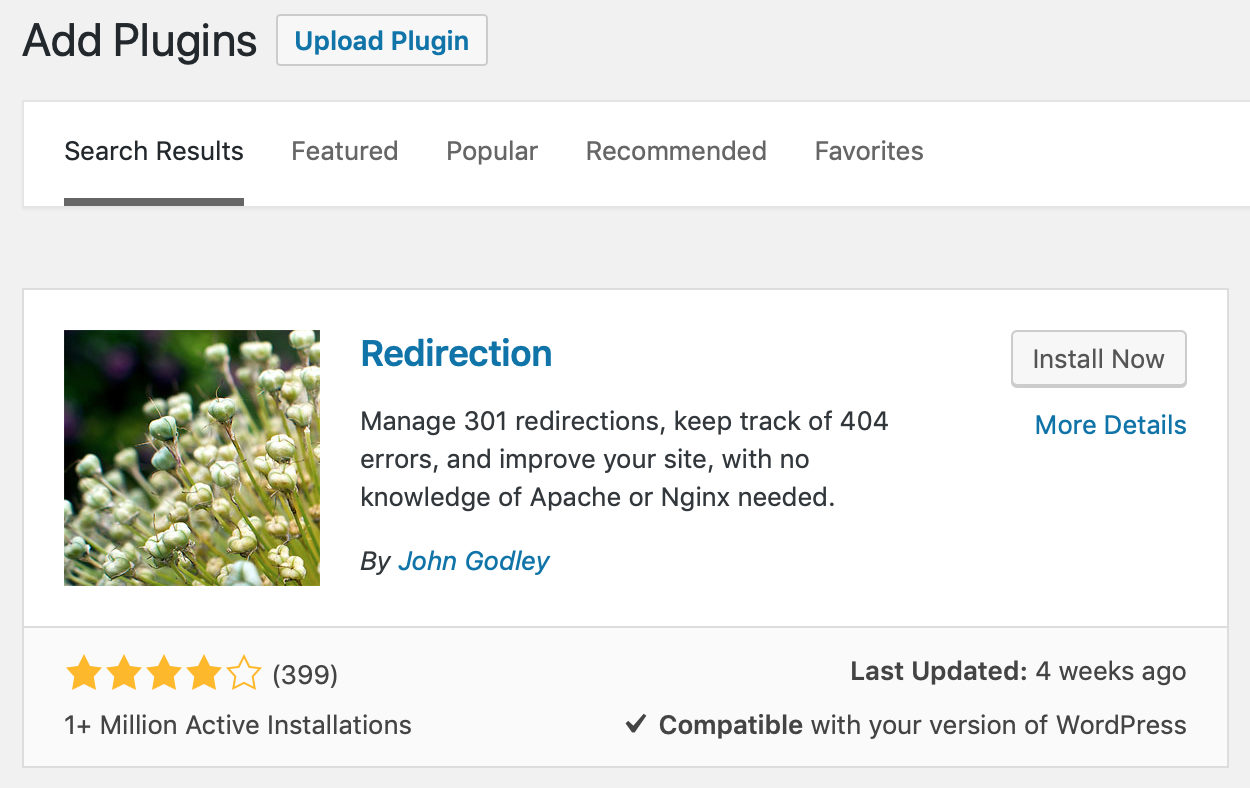
Thanks to John Godley we have the Redirection plugin (which we use to handle 404s and redirections on this site). Redirection works by identifying a URL that ended in a 404 error, figuring out what existing page the visitor was most likely attempting to reach, and creating a permanent redirect from the non-functional URL to the correct page. In my opinion, Redirection is the best plugin available for WordPress to tackle this problem, as the interface is very intuitive. Visit your admin dashboard, go to Plugins and Add New. Type Redirection into the search box.
Configuring Redirection is very easy. The options screen has a lot of settings, but the defaults are pretty good. Here is a screenshot of the optimal settings.
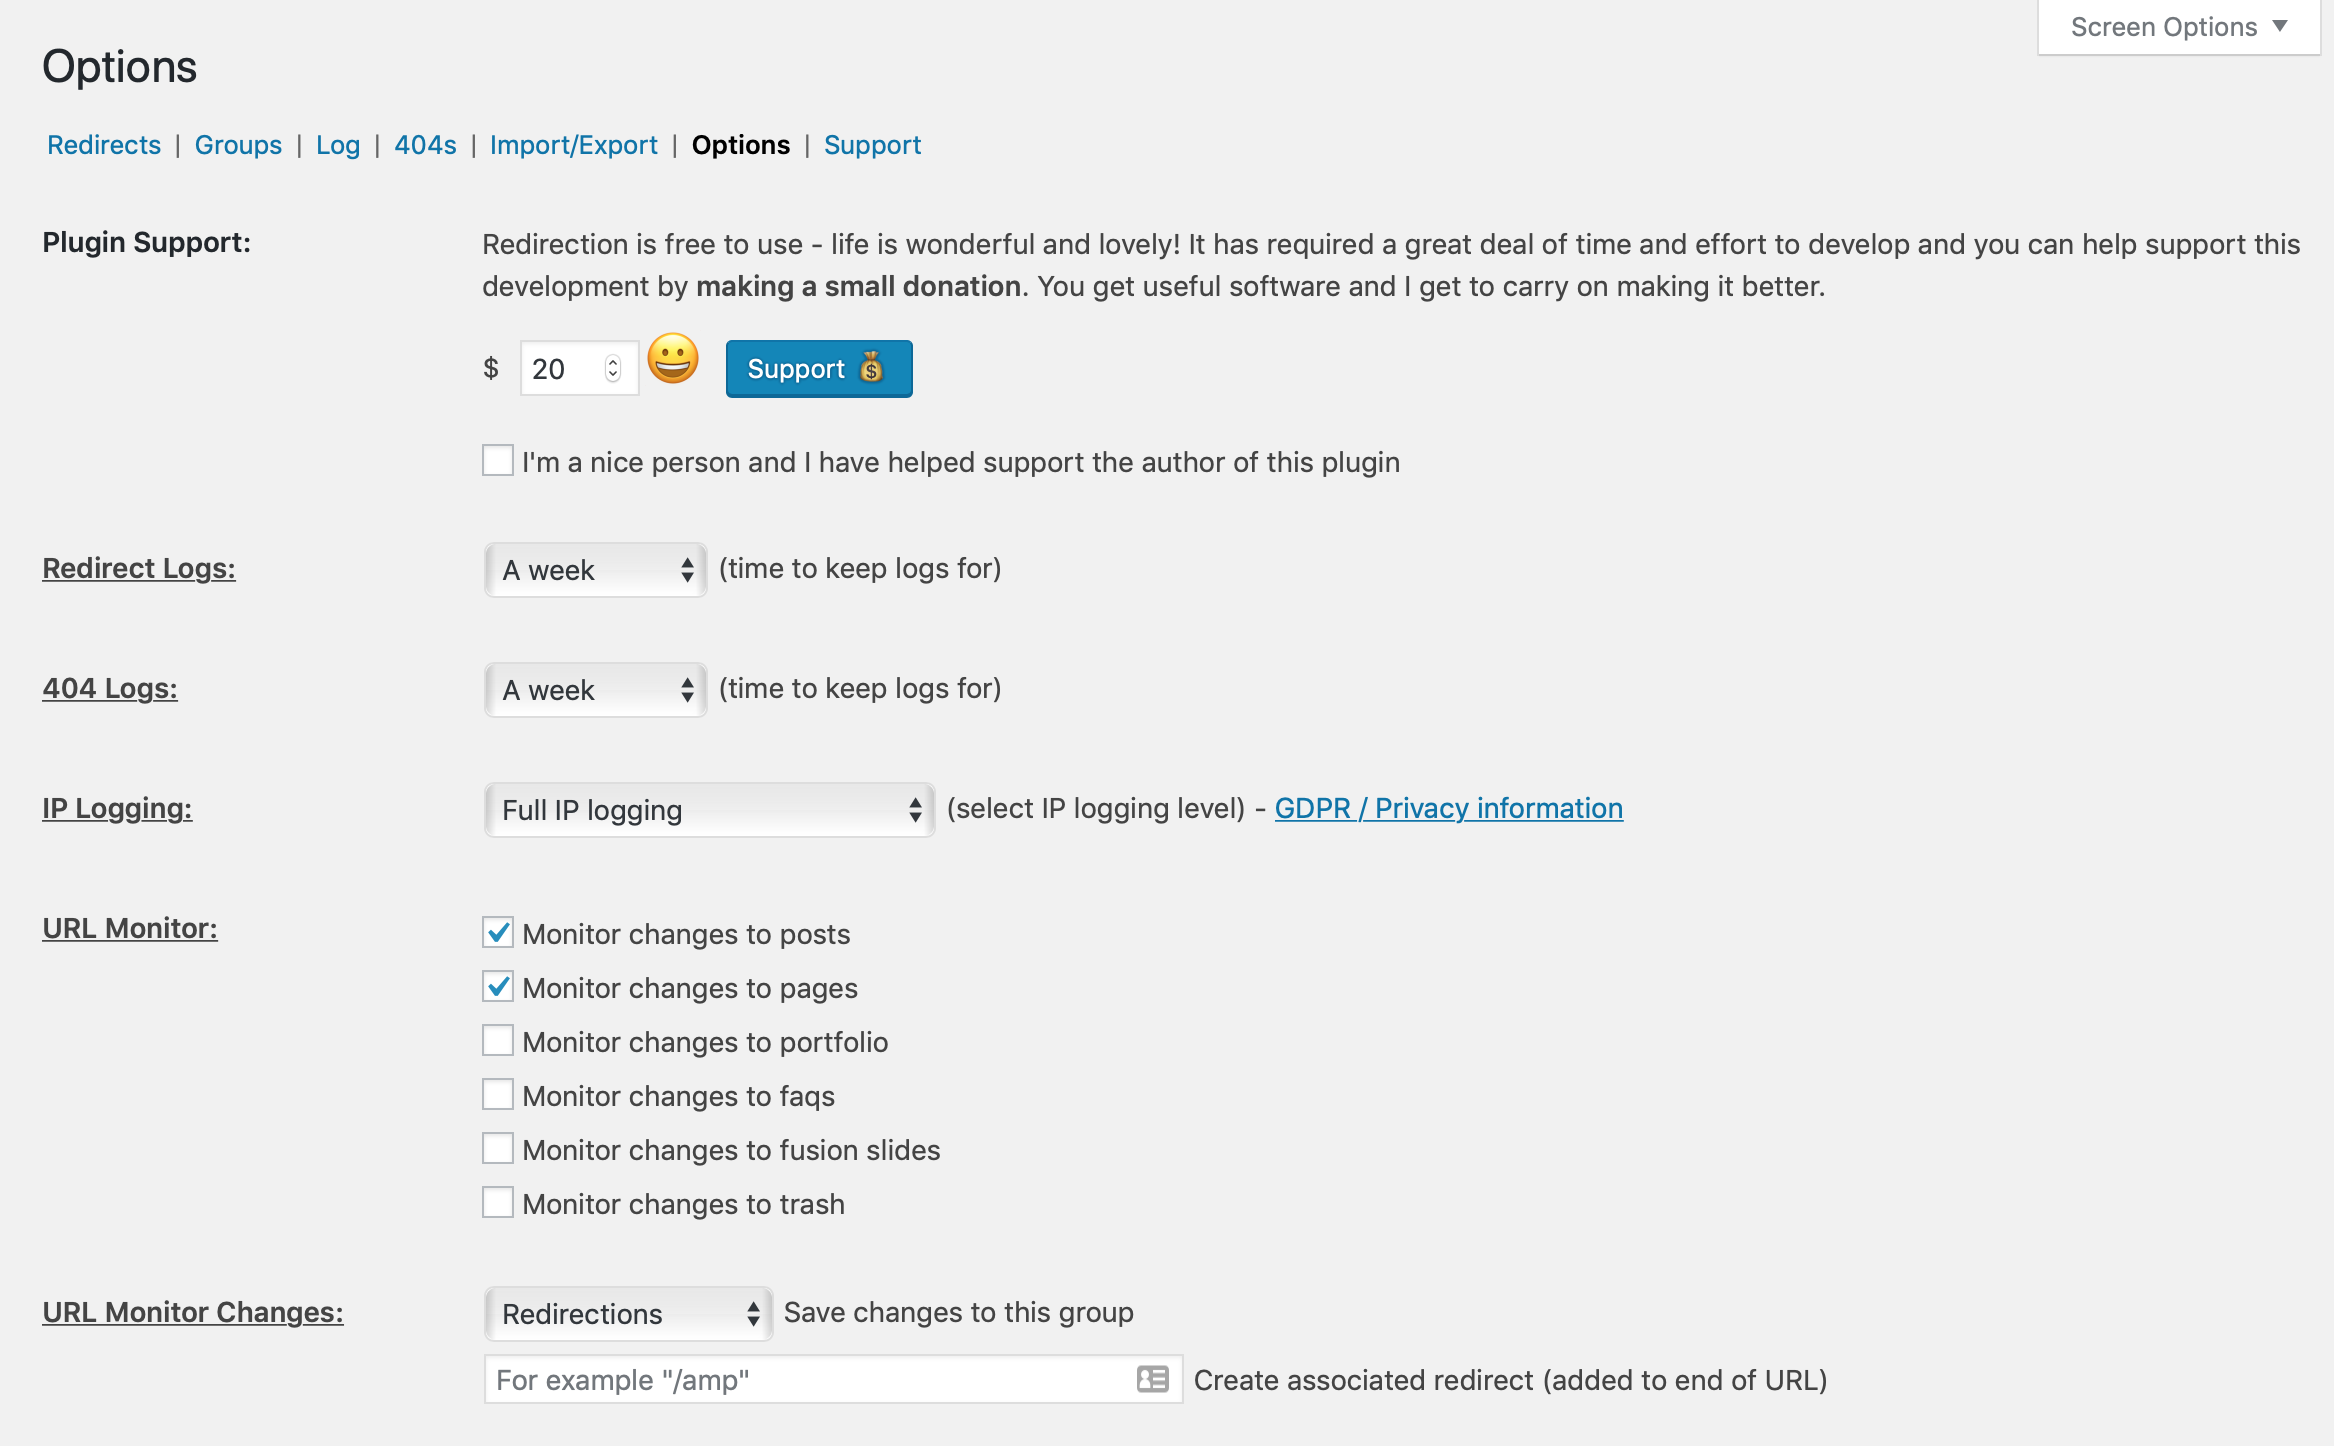
With these settings in place, your WordPress will log all 404 errors, and redirect anything you have configured to the right page.
Manually Redirecting 404 Errors
Now let’s say the user visits http://www.domain.com/lskdghf. Assuming you don’t have a strange page named lskdghf, that user is going to get sent to a 404 page (hopefully your beautiful new custom one). Since Redirection can’t make guesses as to what that user was looking for, it will log the error in its WordPress admin page, and you can view the log of errors and deal with them manually.

The screenshot above shows the admin page I visit most often in my WordPress install. This Redirection 404 log page makes it easy to redirect any incoming visitors to the page you think they wanted, or just the page you want them to visit. Hopefully, when you see this screen, it says “No Results,” but usually after a few days of waiting you will see at least a couple. If you’ve just moved or redesigned your site, you might be unlucky enough to see pages and pages of 404 results here. If you see something in this log, then it needs to be fixed. Capturing those users and the general SEO benefits are just too valuable to ignore.
Add Redirect
Clicking on the Add Redirect link shows you to a popup that allows you to redirect the incorrect URL to a good one. This screen is simple and shows you the page that is failing and lets you enter the correct URL. On our example /lskdghf doesn’t exist and I want to redirect that to my home page, so I am going to put in https://localseocompany.net/. If you want to create groups for different redirects you can, I don’t usually bother with this. I always check the checkbox for “Delete all logs for this 404”. Then hit the Add Redirect button, and you’re all done. Anyone visiting /lskdghf on this site now redirects to the homepage.

Anything that doesn’t seem to have a logical place or that doesn’t make much sense I redirect to the Home page.
Delete
The Delete feature doesn’t need much of an explanation. When you click on this link, it removes the entry from the list. If someone else visits that same broken link in the future, the entry will appear again.
Automatic Redirection to Similar Posts
Now you know how to deal with 404s and create 301 redirects. This maintenance is a lot of work. What if there was a tool that could help you do this in a more automated fashion? It isn’t perfect, but it reduces the amount of work you have to do maintaining your website.
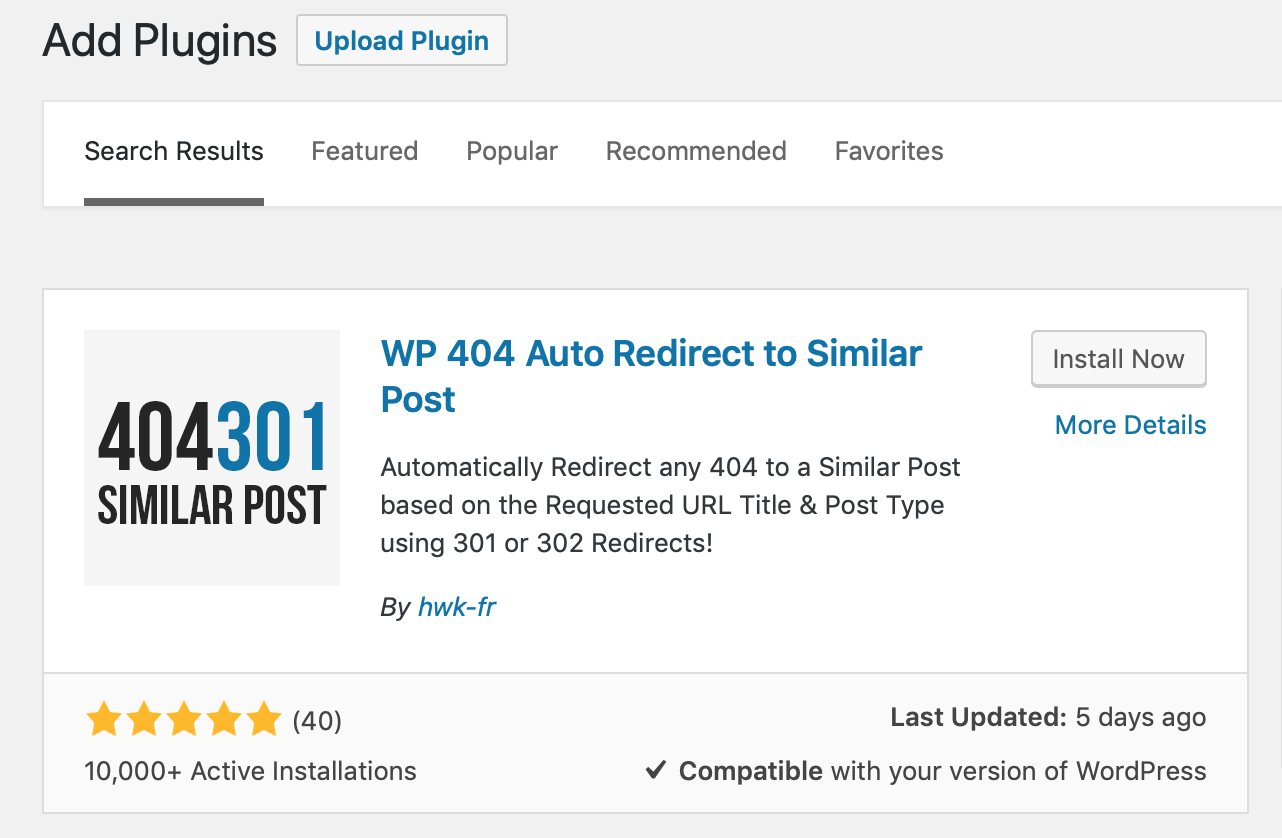
The plugin is called WP 404 Auto Redirect to Similar Post by Konrad Chmielewski, and it’s fantastic. This plugin works great with Redirection which we installed earlier. Let’s use this post as an example, say someone visits localseocompany.net/managing-404-errors-in-/. That URL is missing the “wordpress” at the end. If you have WP 404 Auto Redirect to Similar Post installed, it will see that error and fix it, so the visitor gets redirected to localseocompany.net/managing-404-errors-in-wordpress/, and nothing new would be added to our 404 logs. It matches based on post type, tags, categories, and a few other factors. Visit your admin dashboard and go to Plugins and Add New. Enter WP 404 Auto Redirect to Similar Post into the search box. Install and activate the plugin.
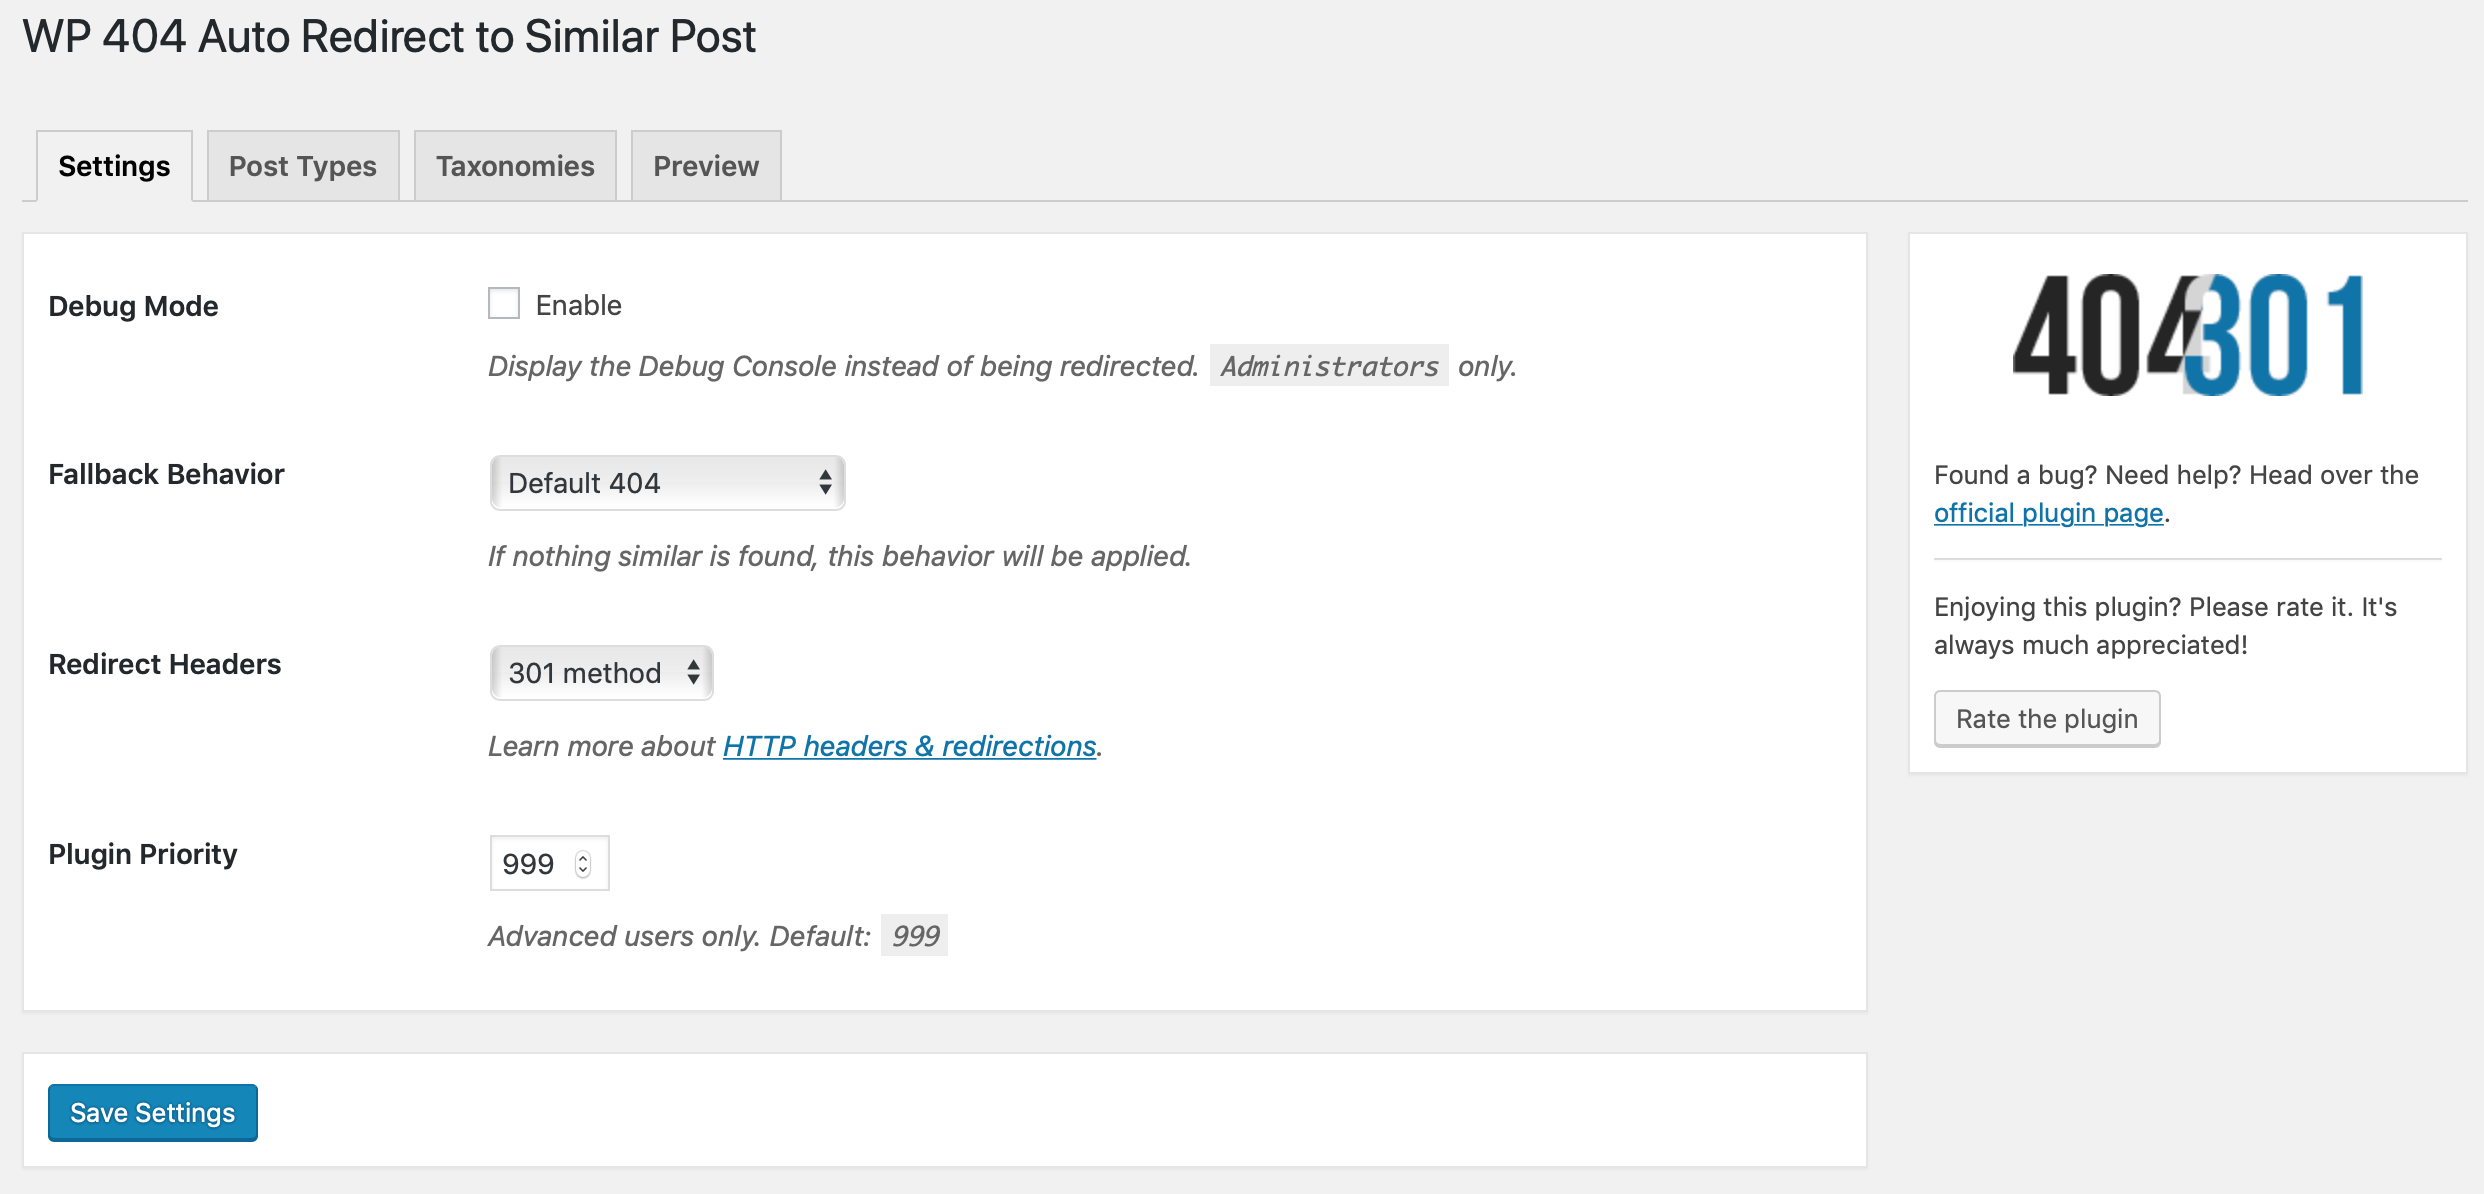
Once the plugin is installed, you can go to the Settings and WP 404 Auto Redirect menu to get to its options. I only change one setting and leave the rest default. I want real 404s to end up in Redirection’s 404 logs so I can fix them. By default, this plugin redirects 404s to the homepage of your website. I change this setting, called “Fallback Behavior,” to “Default 404” from its default of “Redirect to Homepage”.
That’s it for redirecting manually and automatically.
Custom 404 Page
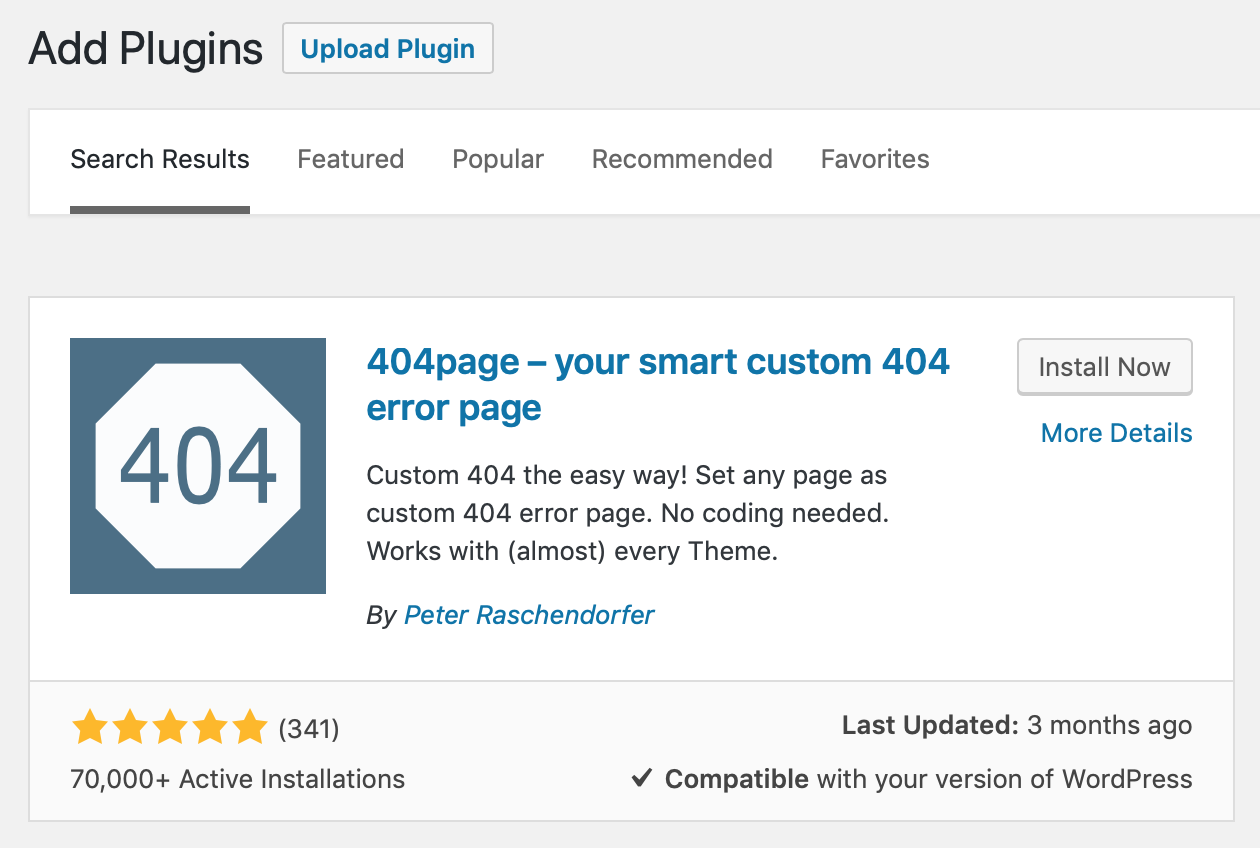
Most paid and free themes come with a custom 404 page today. But if you find yourself in the now rare position of having server errors showing up instead of pretty WordPress pages, then the 404page plugin can fix this for you. Many plugins solve this problem, why use this one? Two big reasons: it works with the other plugins we’ve installed, and it doesn’t use redirects to display itself, so search engines and users still get a proper 404 response code. Visit your admin dashboard, Plugins and Add New. Enter 404page into the search box and install 404page – your smart custom 404 error page by Peter Raschendorfer.
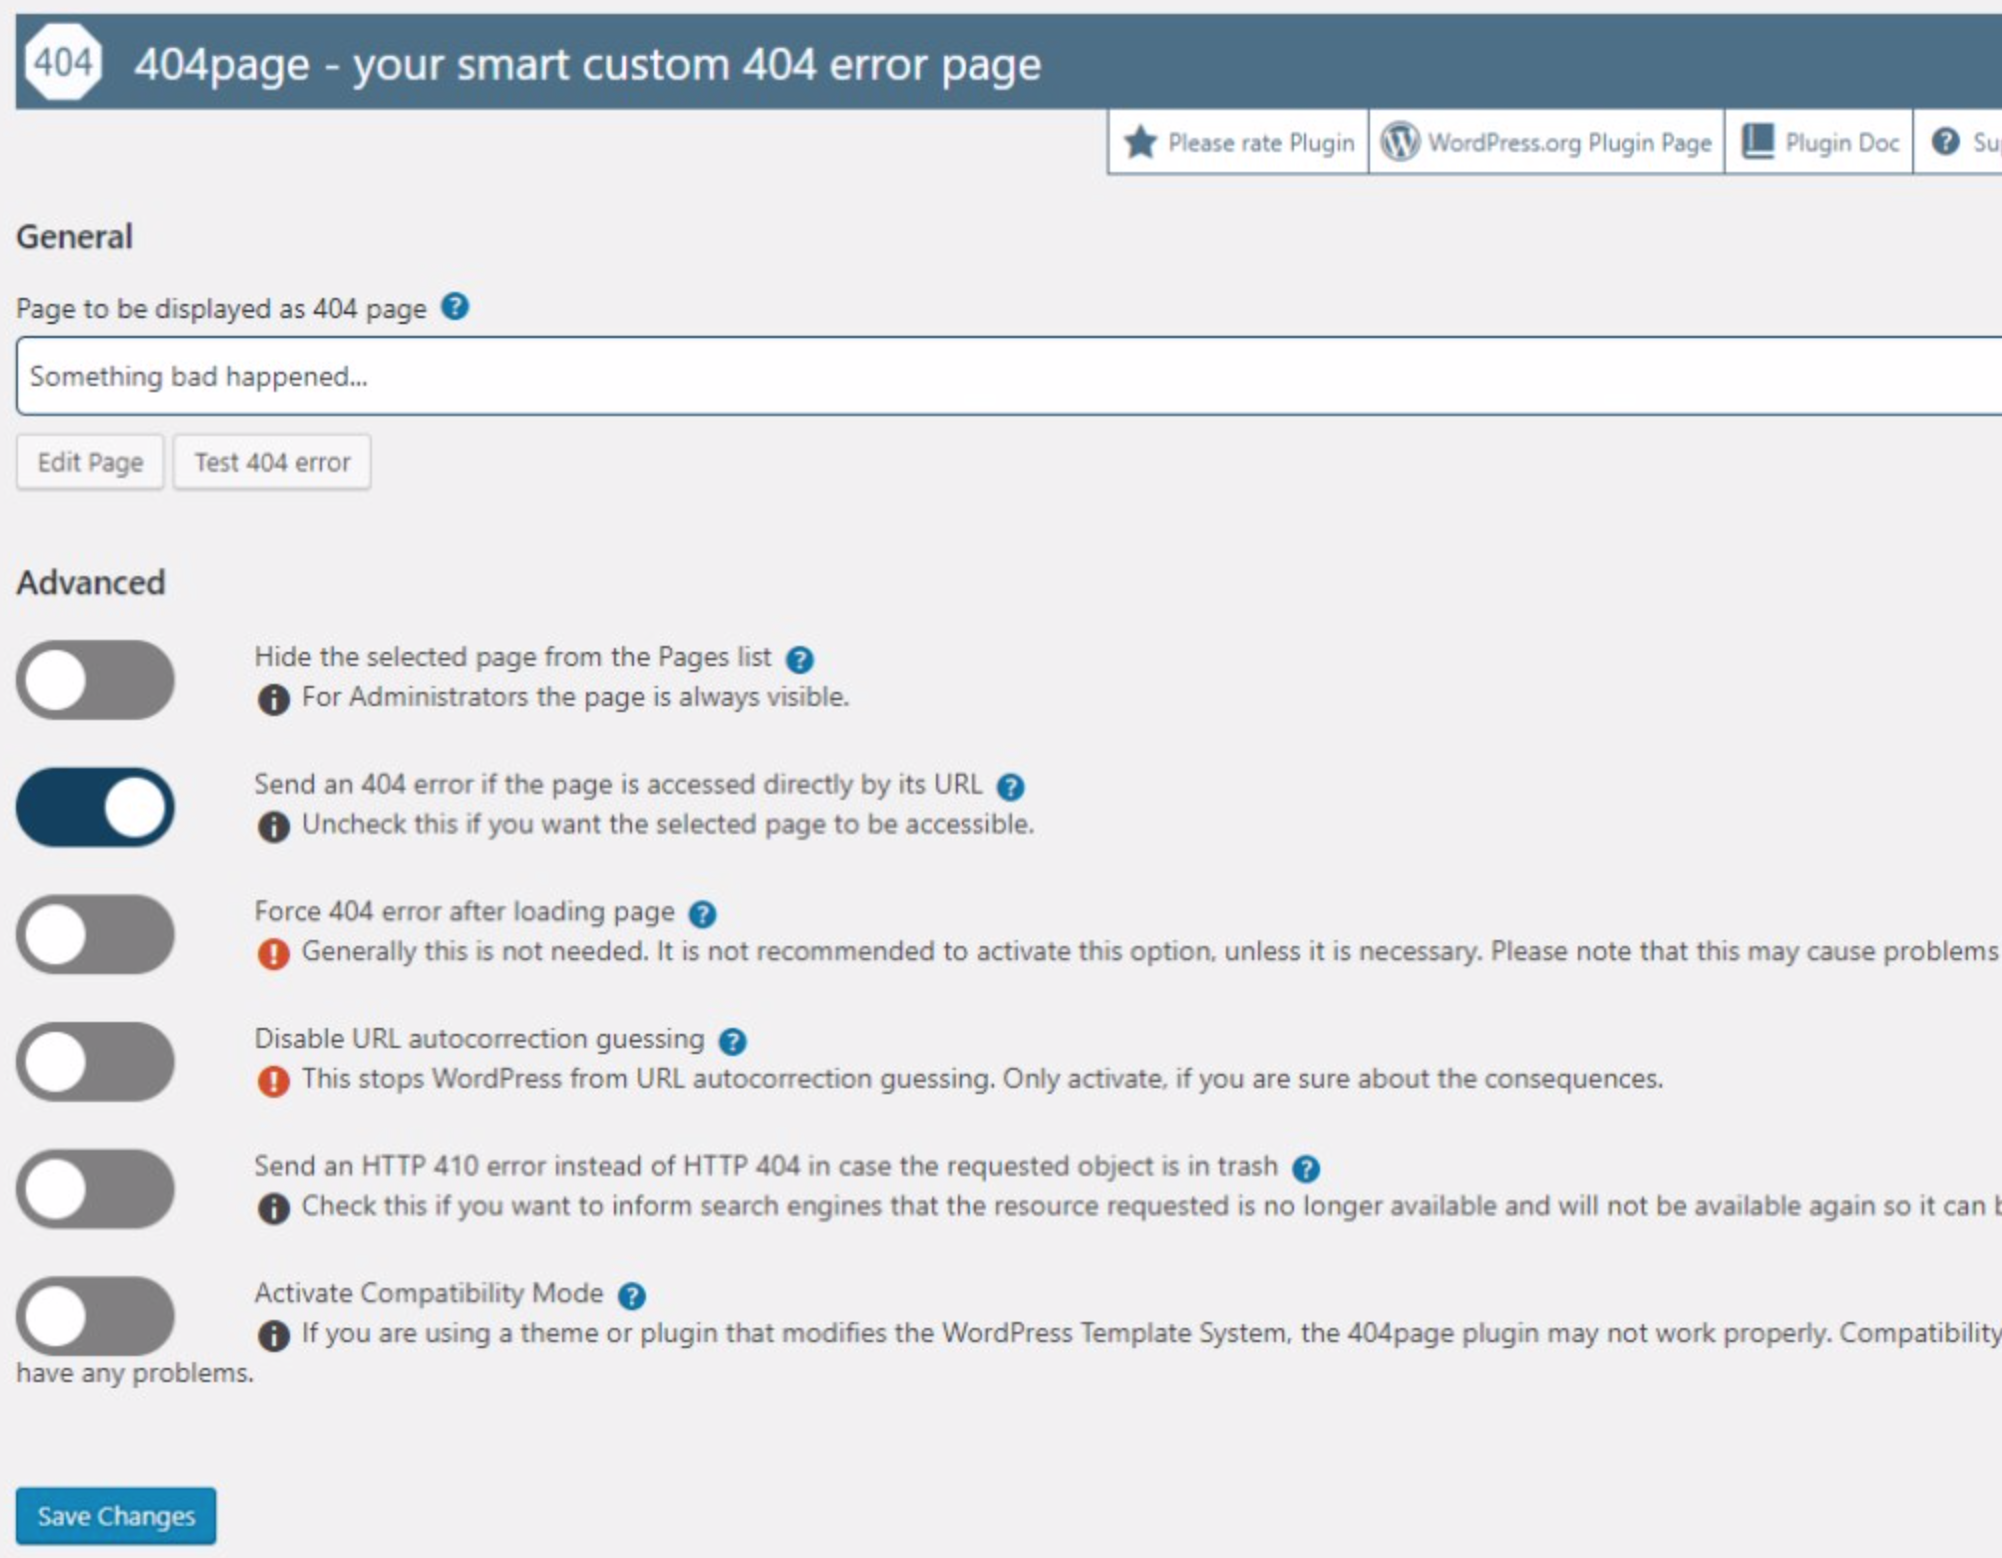
The default settings are good. You shouldn’t need to change anything but the 404 page option. For this plugin to work you have to make a new page and once published, add it on the settings screen in the “Page to be displayed as 404 page” option. Create the page like any other page on your website, and the plugin will make sure it gets displayed to anyone receiving a 404 error.
Conclusion
Keeping track of incoming 404 errors, creating a useful 404 page, and actively managing 404 redirection takes some time to set up, but the result is a website with better search engine optimization, better functionality, and a lower bounce rate. Your work today isn’t a one-time thing, you have to check your 404 logs and fix the entries every week. Over time, you’ll find that you have to spend much less time correcting 404 errors, as common errors get added to the redirection list.


